
 United States

4 Steps to Getting a High Ponytail style
Step 1
If your hair is not wet already make sure you dampen it and apply some heat protectant spray. Quality Heat protectant sprays are meant to keep the hair moisturized, add keratin to strengthen and hair oils to protect the hair follicle but at the same time block frizzy hair. Now you can start with blow-drying the roots of your hair up from the base by flipping your head over using a boar brush gently brushing the hair in the same direction as the root for added volume and support. Blow drying hair is good in general because it gives the appearance of thicker hair since it adds volume to each strand of hair. Using a boar bristle brush is good for evenly distributing your hair's natural scalp oils, and it strips the hair of any leftover dead strands leaving you with healthy hair. This leaves your hair with an added shine and room for new hair growth.
Step 2
Now gather all your hair as you use your boar-bristle brush to smooth the base of your ponytail and then position your ponytail as high as you are comfortable with. Tip use an excellent quality hair gel as you smooth your ponytail to tame any baby hairs right at the root. Eventually, when all the bumps and fly-away hairs are gone secure the ponytail with a hair tie that preferably matches your hair color. Remember according to your hair thickness choose the correct hair tie that can hold up your hair for hours or however long you decide to keep it up!
Step 3
This extra step will make all the difference in keeping your ponytail up all day. Start by grabbing two bobby pins that match your hair color. Then insert these vertically in a Criss cross pattern into your ponytail through the hair tie. These bobby pins will act like a prop to hold up your ponytail and make it stand up taller all day and not sag. Now, this is optional, but it does give a cleaner look. Start with grabbing a small sliver of your hair and wrapping it around the hair tie to hide it and fix it in place with hair spray. This gives a seamless look and allows the hair tie to blend in more naturally.
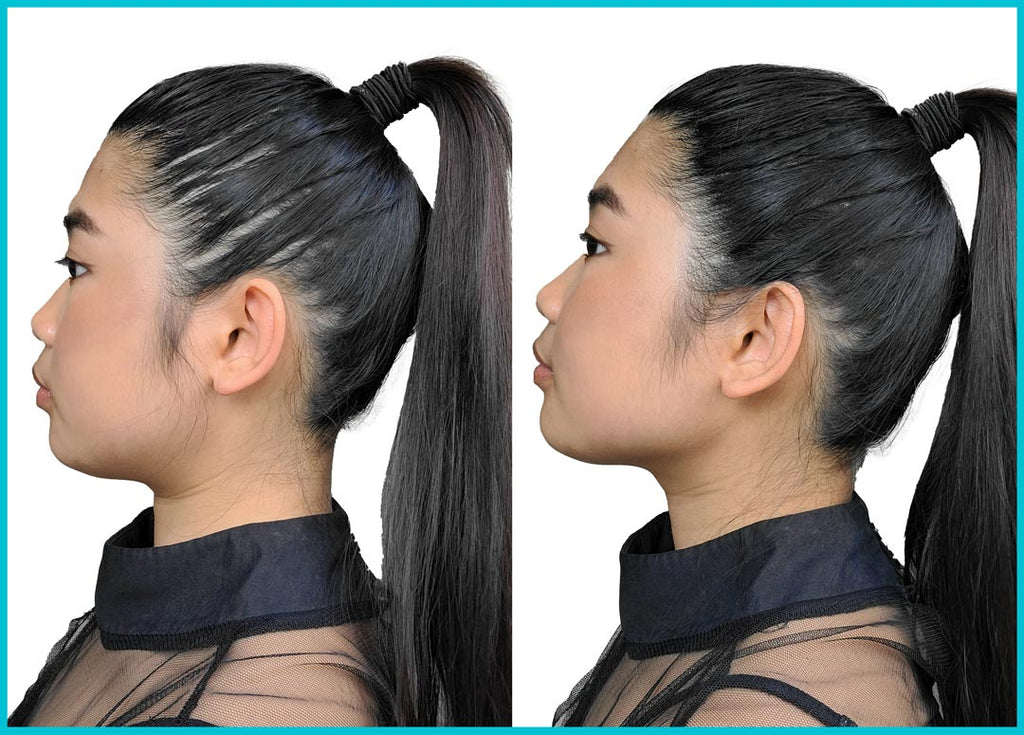
Step 4
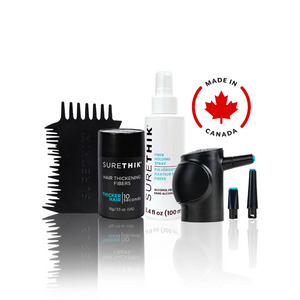
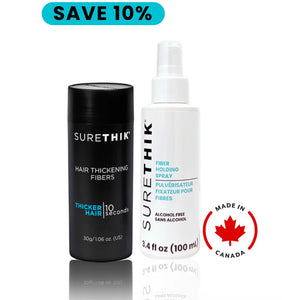
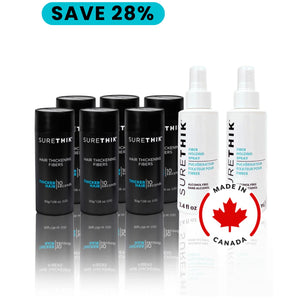
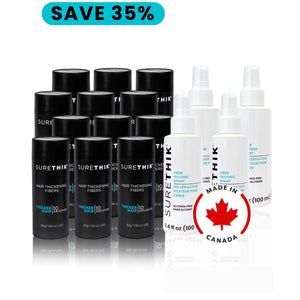
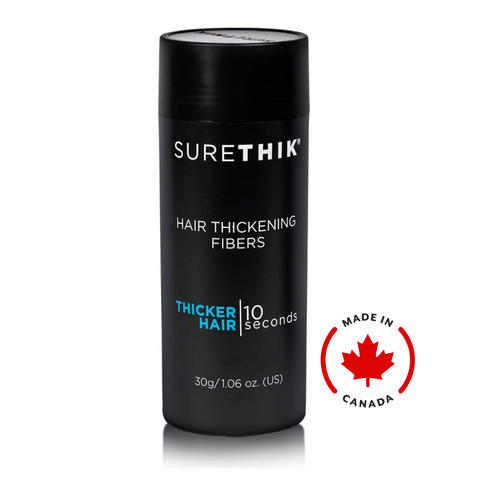
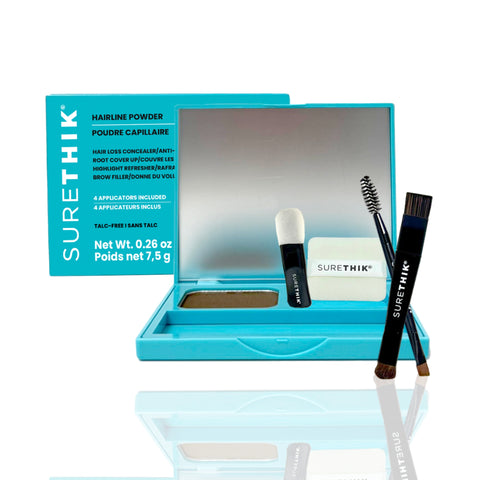
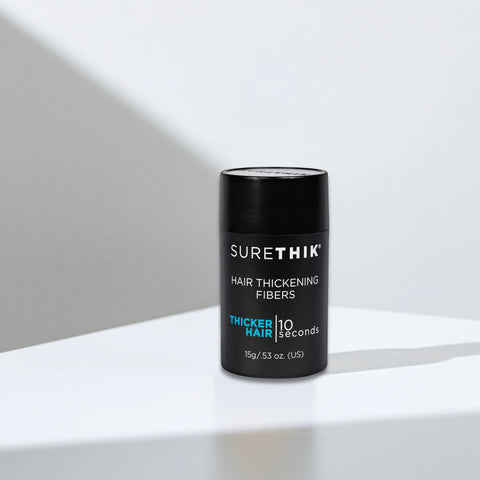
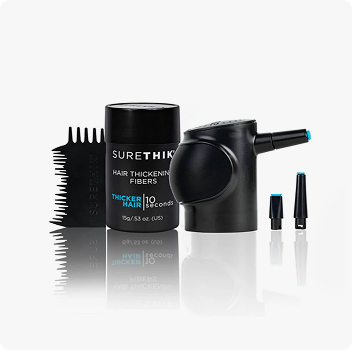
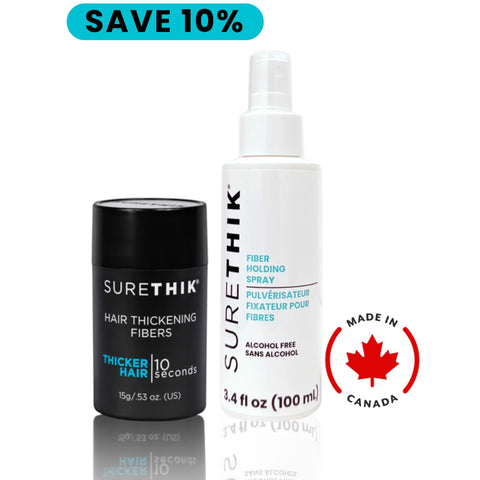
Now if you are someone that struggles with thin hair at the temples you can for sure rock this look too! It is common for people to have thinning hair around the temple and hairline area. Well to finish this gorgeous look shake or spray on SureThik hair fibers. Start by finding the perfect color match for your hairline, we have eight colors to choose from; from black to light blonde and even grey.

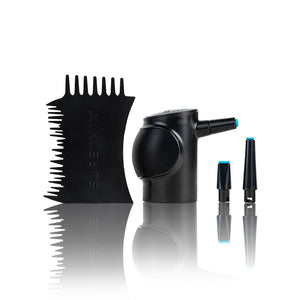
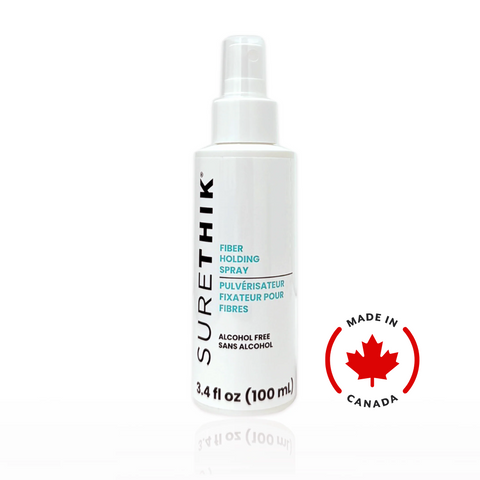
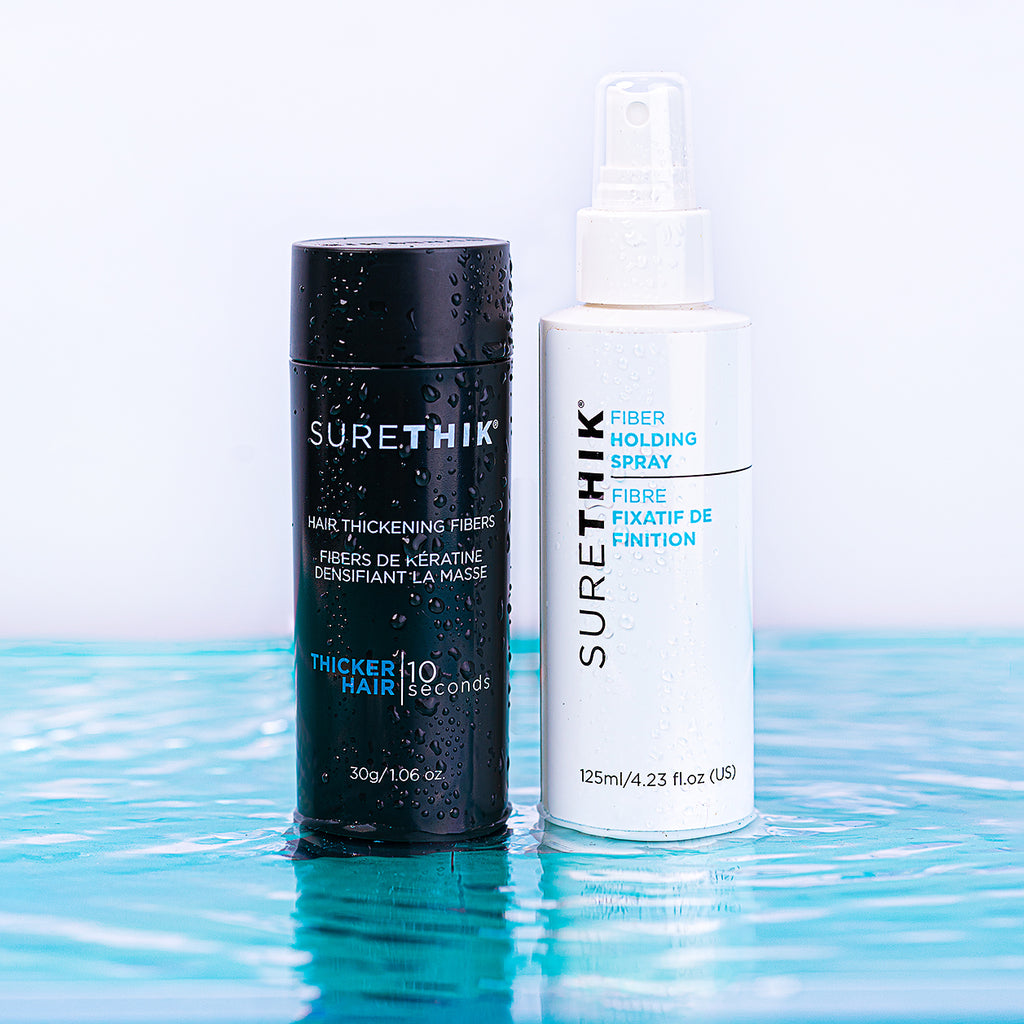
Our model used black hair fibers; now open the bottle and attach the twist-on pump applicator. The twist-on pump applicator comes with three attachments depending on how the amount of coverage needed, the attachment head size increases, so select one according to the thinning area size. This is all included in the hair fiber starter pack. Now grab the hairline tool which is great to catch any fallout and create a natural even hairline. Start to spray evenly in problem areas to cover them away naturally with these keratin hair fibers. These hair fibers electro statically cling to your hair and scalp, covering any thin or balding areas. This gives the appearance of a full head of hair! Finally use some holding spray which enhances the bond between the hair fibers and your natural hair. This holds all the fibers and hairs into place and gives a nice shine finish.
There you go a beautiful high ponytail with no bald spots and a secure base which will last all day!